
Whether you’re a chutney fanatic or a jam-maker extraordinaire, if preserves are your game, you need to know how to seal glass jars.
This article delves into why glass jar sealing is essential when making preserves and the various different sealing methods available.
So, without any further ado, let’s jump in!
Equipment needed for sealing glass jars
Depending on your method of choice, you’ll need some of the following equipment:
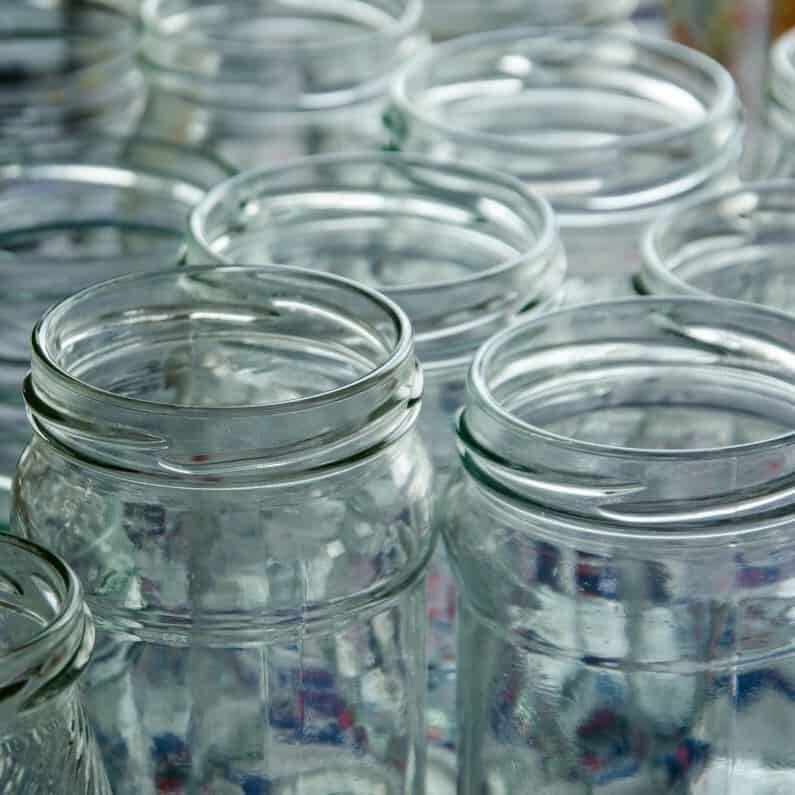
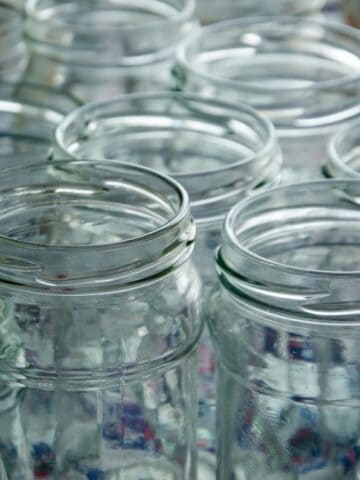
- Mason jars – a trusty mason jar is the best kind of jar to use when it comes to preserving food. The glass is strong and stable and the lids are high quality
- Kilner jars – if you prefer, you can also use clip-top Kilner jars to store your preserves
- Water bath canning kit – if you prefer the water bath canning method, this kit has got everything you need
- Jar lifters – this little gizmo is worth its weight in gold when it comes to sealing glass jars. Make sure you have one… it makes the job so much easier!
- Kilner maslin pan – any large cooking pot will do, but I recommend getting one of these. They are perfect for processing your glass jars
- Instant Pot – not only can you use them to make wonderful recipes, you can also use them to seal glass jars!
- Canning funnel – before you even think of sealing your mason jars, you’ll need to pour your preserve into your jars. Use one of these nifty funnels and make sure you get a nice clean transfer into the jars
- Lid wand – use this to pick up the metal lids ready for sealing
- Vacuum sealer and jar sealer – if you want to go for the vacuum sealing method, you’ll need these
Why it’s important to seal glass jars
In short, to keep the good stuff in and the bad stuff out.
Once you’ve made a delicious homemade preserve, you want to make sure it keeps for as long as possible. That means not only sterilizing the jars, but sealing them properly.
Sealing jars properly for long term storage involves creating a vacuum. This prevents any air from seeping into the jar, meaning you can keep your chutney, jam or whatever you’re storing, for long term storage.
The air that gets into storage jars does two things. Firstly, it allows potentially harmful bacteria into the jar – this can spoil your food or even give you food poisoning.
Secondly, the air breaks the food down over a long period of time. This will spoil the taste and texture.
So, for long term storage, properly sealing glass jars is very important.
Preparing jars for sealing
Before you start the process of sealing your glass jars using one of the methods below, there are a few preparation steps to take:
- Check all your glasses for cracks, nicks or any other kind of damage. Sealing your jars properly is all well and good, but if you’re storage glasses are damaged they can let bacteria in and negate the whole sealing process
- Check the lids too! All lids should be free from damage and fit onto the jars perfectly
- Wash your jars and lids. This should be done using warm soapy water. Once properly washed, turn your jars upside down and place on a clean tea towel or chopping board to dry
- Next, sterilize your jars. For an in-depth step-by-step guide on the different methods you can use, check out my ‘How to sterilize jars’ article
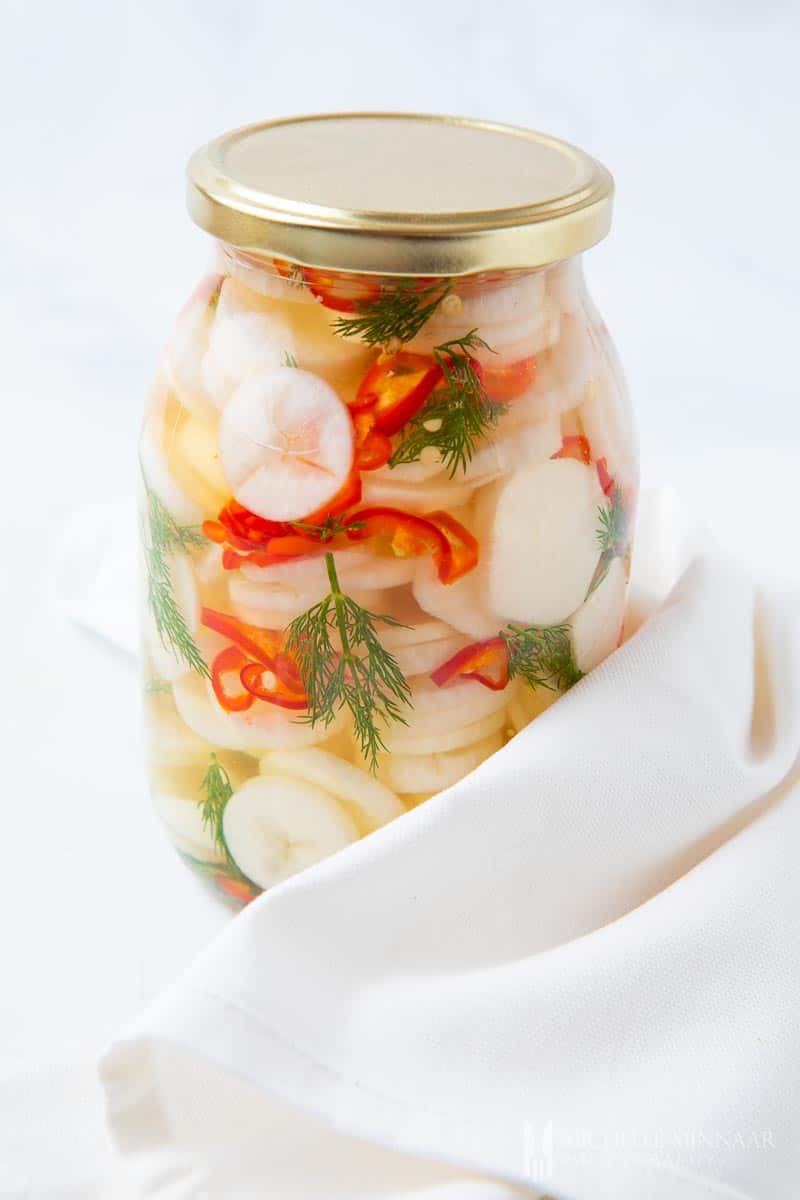
- Carefully fill your jars with your chosen preserve, leaving a ½ inch gap at the top. Before placing the lids on them, run a clean chopstick or spatula around the perimeter of the inside of the jars, to remove any air bubbles
📖 Recipe
How to Seal Glass Jars
Here are some of the various different methods you can use to seal mason jars to best preserve food.
Instructions
Turning them upside down
Probably the simplest method to get vacuum sealed glass jars is to simply turn the jars upside down. It’s an old-fashioned method that was probably tried and tested by your mother, your grandmother and your grandmother’s mother!
Otherwise known as ‘inversion canning’, this method only works if your preserves are hot in the jar.
- Once you’ve spooned your hot chutney, jam or other preserve into the jar, simply place the lid on securely (wearing gloves!) and turn the jar upside down on a dish cloth. Then leave it for 5–15 minutes.
- Next, flip the jar the right way up and allow the jar to cool for at least 30 minutes. After a few minutes, you should hear a ‘pop’ sound. This is the sound of the heat creating a vacuum.
- Once your vacuum sealed jars have cooled properly, they are ready to be stored in a cool dry place. Depending on the food storing, you’ll typically be able to store it for a year.
While inversion canning is quick and easy, it’s not the safest method. The vacuum seal is far weaker and less durable than other vacuum sealing methods.
Sealing with a water bath
Water bath canning or a ‘boiling water bath’ is a quick and effective way to vacuum seal jars.
- First, place a round metal cooling rack on the bottom of a tall cooking pot. This is to keep the jars from touching the base of the pot, allowing evaporating water to escape from the pot.
- Next, fill the pot with water – enough to cover at least an inch above your glass jars. Turn up the heat to a heavy simmer.
- Carefully lower your filled canning jars into the boiling water using a jar lifter. Make sure to keep each mason jar upright, to avoid your preserve making contact with the lid (it’s important to keep that gap at the top!)
- Turn the heat up to a rolling boil. Boil for 10–15 minutes.
- Take the pot off the heat and let it cool for 10 minutes.
- Remove the jars using the jar lifter. Allow them to cool for 12–24 hours. When they’ve cooled completely, press down on the lid of each of the sealed jars. If the lid doesn’t pop, they’re sealed properly.
- Wipe away any residue from the outside of the jars and store them in a cool dry place for up to a year.
Steam canning using an Instant Pot
This method involves making sure your jars are properly sealed by using a pressure cooker or an Instant Pot.
- Add one cup of water to your instant pot.
- Place your warm jars full of hot food into the rack inside your Instant Pot. Make sure the pressure valve is set to ‘empty.’
- Press the ‘steam’ button on your Instant Pot.
- When the Instant Pot’s float valve pops up, you’re ready to start the processing timer.
- Set the timer to 10 minutes. If you’re 3,000 feet above sea level or more, increase the processing time by 10 minutes.
- Press ‘cancel’, ‘keep warm’ or simply unplug your Instant Pot.
- When the float valve goes down, carefully open your Instant Pot (careful with the steam) and use the jar lifter to remove the jars.
- Place jars on a cooling rack and leave them to cool for 12 hours.
Vacuum sealing
Another quick and easy way to seal glass jars is by vacuum sealing. The vacuum sealing process is very straightforward and doesn’t involve boiling water or high temperatures – just a vacuum sealer and a hose attachment. You can only vacuum seal glass jars with metal canning lids – plastic lids are not suitable.
- Secure the lid to your mason jar.
- Place one end of sealer hose into your vacuum sealer machine and the other into the jar sealer attachment.
- Place the jar sealer attachment on top of the glass jar lid. Push down to secure it into place.
- Turn on your vacuum sealer. Follow the machine’s operating instructions to properly seal your jar. The machine will indicate when the sealed glass jars are ready. You should also hear a ‘pop’ to indicate that the canning jars are properly sealed.
Paraffin wax
Sealing canning jars with paraffin wax is an old school way to seal canning jars is to use paraffin wax. We don’t recommend it, but set it out here for your reference.
- Place a wax sealing dish on a flat surface (a table or kitchen countertop will work fine). Light a candle and place it in the space below the sealing dish. If you don’t have a sealing dish, heat the wax slowly in a small saucepan.
- Place your paraffin wax into the dish or saucepan so it can heat up. Start with a small amount and add more as needed. It’s important to melt the wax slowly – if it overheats, it will shrink when it cools. This means it won’t create an effective seal.
- It should take around 20–30 minutes for the wax to completely melt. Once melted, pour a thin layer over the top of your cooled preserve.
- Leave for a few minutes, then pour another thin layer.
- Now place the lids on. When the wax cools, it will form a vacuum seal. Place your canning jars in a cool dry place.
Checking your jars have sealed properly
After your glass jars have been sealed and left to cool for the appropriate amount of time, you’ll want to check to ensure a vacuum seal has been created and that they’re properly sealed.
With most standard mason jars, you’ll notice that the jar’s lid will have a slight indentation if sealed properly. This convex lid is caused by the vacuum in the jar.
If there isn’t a slight circular indentation and the lid moves up and down when you press it, then the sealing process has failed.
If you’re using clip-top glass jars, carefully undo the clip – if the lid doesn’t pop open, it’s properly sealed. Reattach the clip and store your jar in a cool dark place.
If, for whatever reason, your seal has failed, you’ll need to start the process again using one of the methods above.
What can you preserve in jars?
You can preserve many different types of foods in jars.
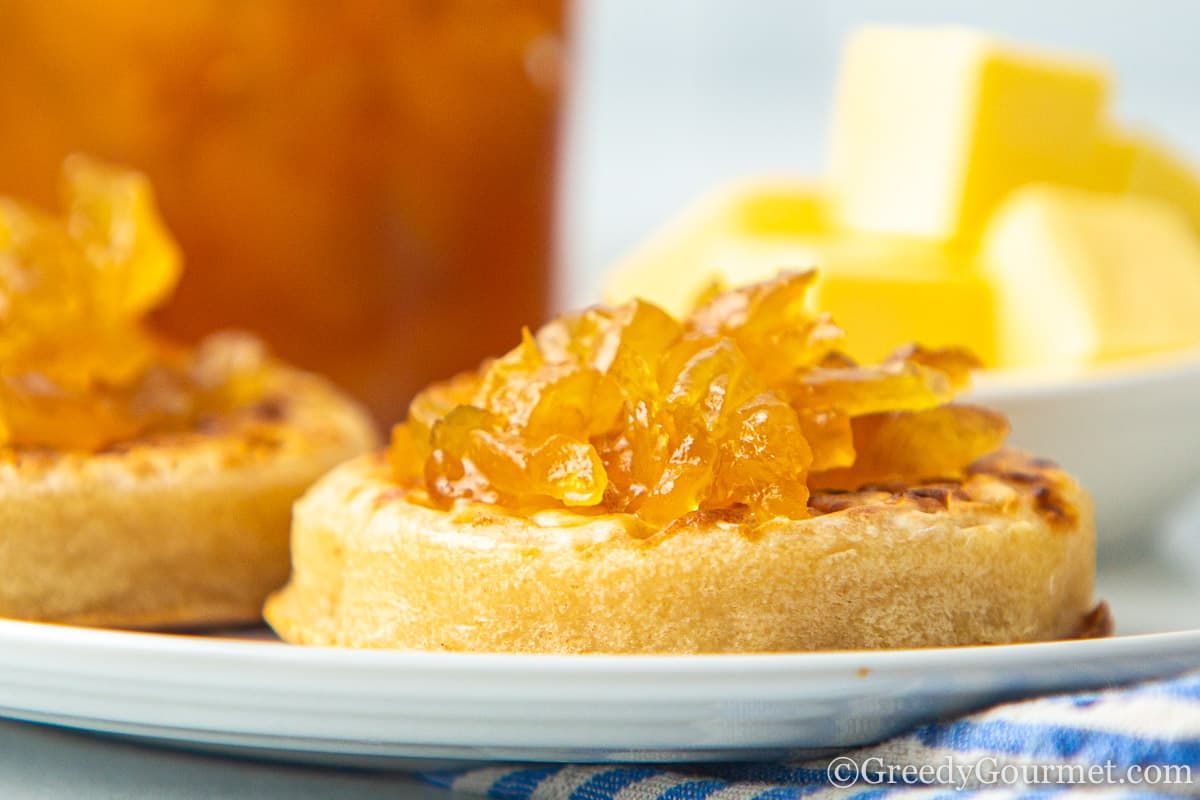
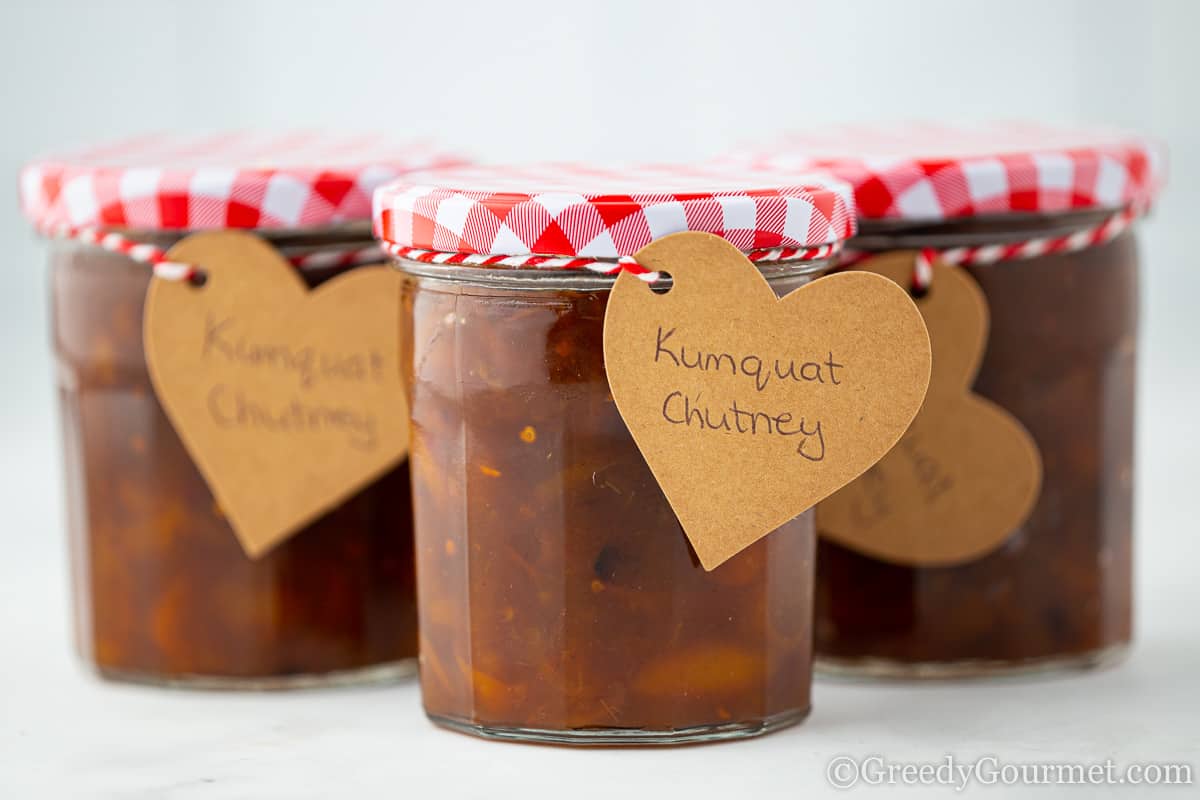
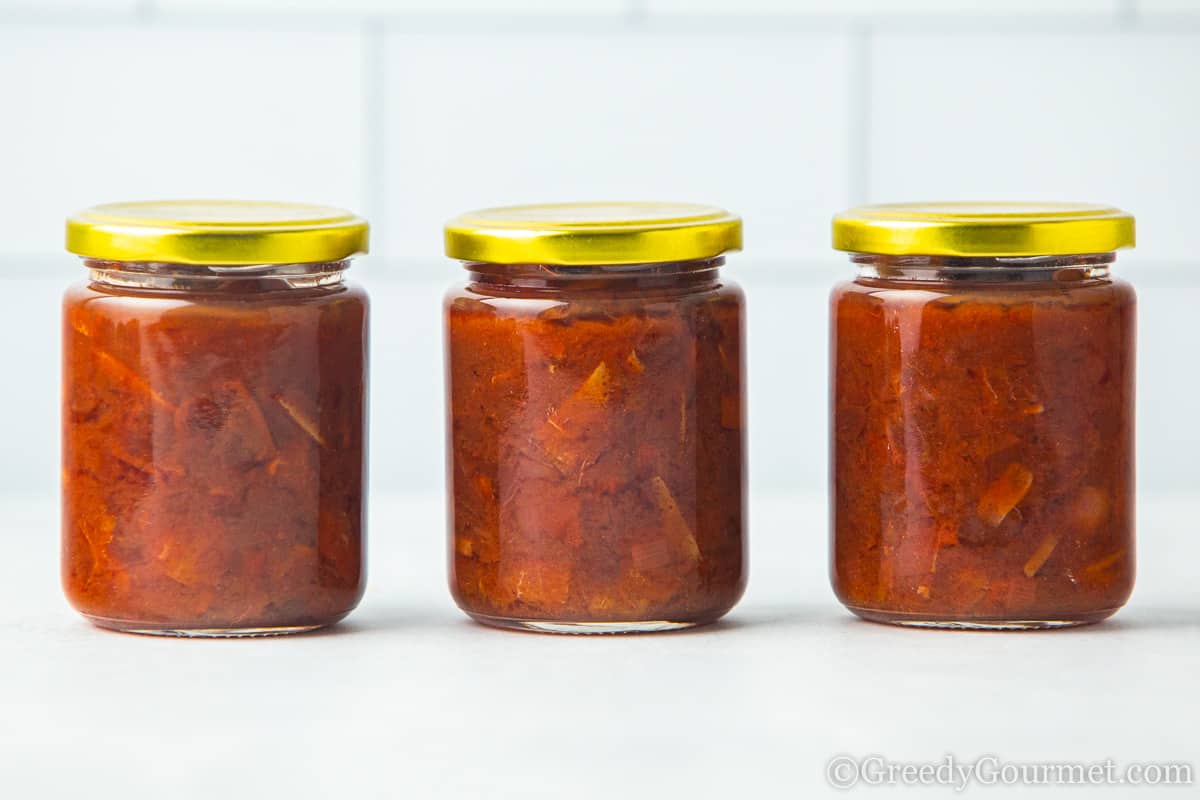
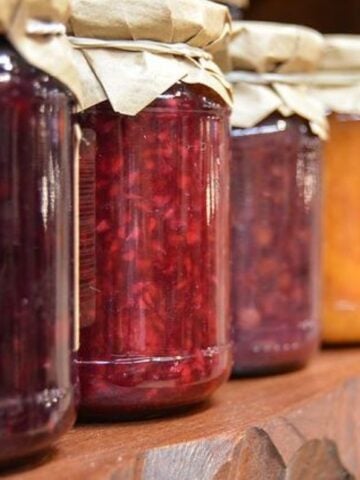
My favorite type of food to preserve is chutney. Not only is it delicious and versatile, but it lasts up to a year when stored in properly sealed jars.
Preserve recipes
So, now you know how to seal glass jars, maybe you need some inspiration on what preserves to make?
Luckily, I’ve got a long list of incredible recipes for you to try. Work your way through them and let me know which one is your favorite in the comments below. Enjoy!
Chutneys
- Gooseberry chutney – a British classic, this chutney has got some real old school charm. Perfect when served with crackers, cheese, cold cuts, grapes or anything your imagination can muster up, it’s a delicious recipe that’s well worth the wait!
- Papaya chutney – looking for something out of the ordinary? This exotic fruit chutney is really special. There’s so much incredible flavor going on here, with garlic, garam masala, jaggery, chili and papaya all working together in harmony to create a fusion of flavor that you just have to experience
- Orange chutney – a zesty, spicy, fresh and fully-flavored chutney with a whole lot of richness, this is an incredible chutney to pair with your favorite cheese. The combination of sweet and tart with the underlying spice is utterly delicious
- Rhubarb chutney – if you’re lucky enough to be able to get hold of rhubarb, I urge you to give this recipe a go. It is simply sensational and proves just how wonderful this underused ingredient really is
- Cherry chutney – cold cuts, cheese, crackers, rye… you name it, this chutney goes with it. Light spices, intense fruity flavors and an irresistible nutty undertone make this cherry chutney recipe an absolute winner
- Mrs Balls chutney – a South African institution, Mrs Balls chutney is absolutely delicious. It’s adored by many South Africans, and for good reason… it’s light, fruity and incredibly versatile. Make it once and it’ll become a firm favorite
- Blueberry chutney – another amazing fruit chutney, this one is great with cold meats. It’s simple to make, yet impossible to resist
- Apricot chutney – this mild, lightly spiced chutney is heaven! It’s perfect with a cheeseboard or simply spread on toast. You could also serve it with your favorite spicy dish to add a little fruity touch
- Damson chutney – a plummy, sweet and mildly spiced chutney with heaps of flavor, damson chutney is one of my personal faves. You’re going to absolutely love it!
Jams
- Gooseberry jam – a classic British jam recipe that’s easy to make and tastes fantastic
- Damson jam – quick and easy, with a taste that will blow you away!
- Seedless blackberry jam – another easy jam recipe, this is the perfect jam recipe to make during blackberry season
Curds
- Lemon curd – have you ever made homemade curd? Now’s the time to try! This lemon curd recipe is delicious and makes the perfect topping for scones and cupcakes or even as the filling in a cheesecake. You could also make a Lime curd if your prefer


Make my day! - Share your thoughts...