Have you ever wondered how to sterilize jars and how to use sterilize jars? If you’re a chutney enthusiast like me, the chances are you have.
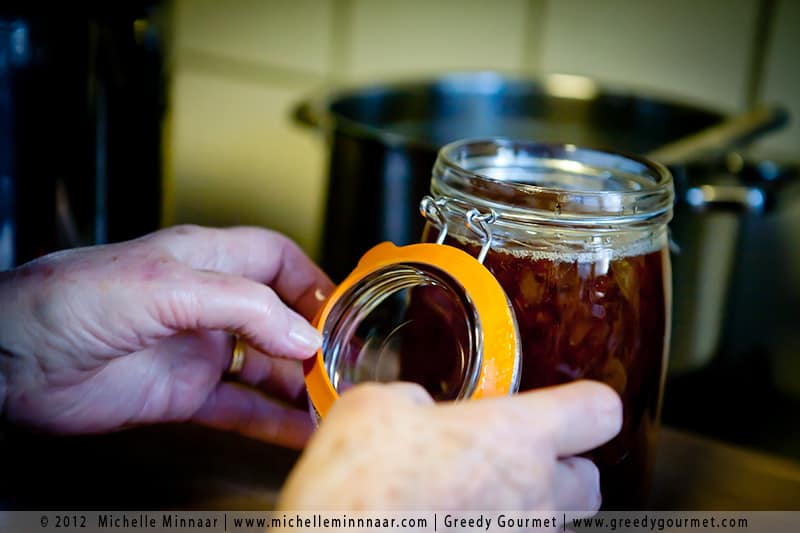
Well, we’ve got the lowdown on how to make sure your jars are perfectly sterilized, safe to store your delicious preserves. Don’t worry… it’s really easy! There’s a method to suit everybody and each process is pretty straight forward.
Not only that, but it’s essential. Sterilizing jars not only extend the shelf life of your homemade preserves, but it makes them safe to eat. More on this later… but first, let’s take a look at the basic kitchen equipment you’ll need to sterilize glass jars.
Equipment you’ll need to sterilized glass jars
Here are some of the things you’ll need to sterilize canning jars using the methods below:
Essential equipment
- Mason jars – mason jars are the classic way to store your homemade preserves. The clip top makes it easy to keep them closed and create a proper seal
- Tongs – tongs are the best way to remove a hot jar from hot water and an all-round essential piece of kit to have in the kitchen
- Oven gloves – no cook should be without quality oven gloves. If yours are starting to wear thin, invest in some new ones
Optional equipment
- Roasting tin – if you’re using the oven method to sterilize your glass jars, you’ll need a roasting tin
- Instant pot – not only can you cook up delicious one pot stews in an instant pot, you can also use it to sterilize your preserve jars
- Water bath canner – a large cooking pot will do, but a water bath canner is the ideal size for sterilizing a big batch of glass jars, ready to store your homemade chutney or jam
- Microwave – the quickest and easiest sterilization method, when time is in short supply a microwave is what you need
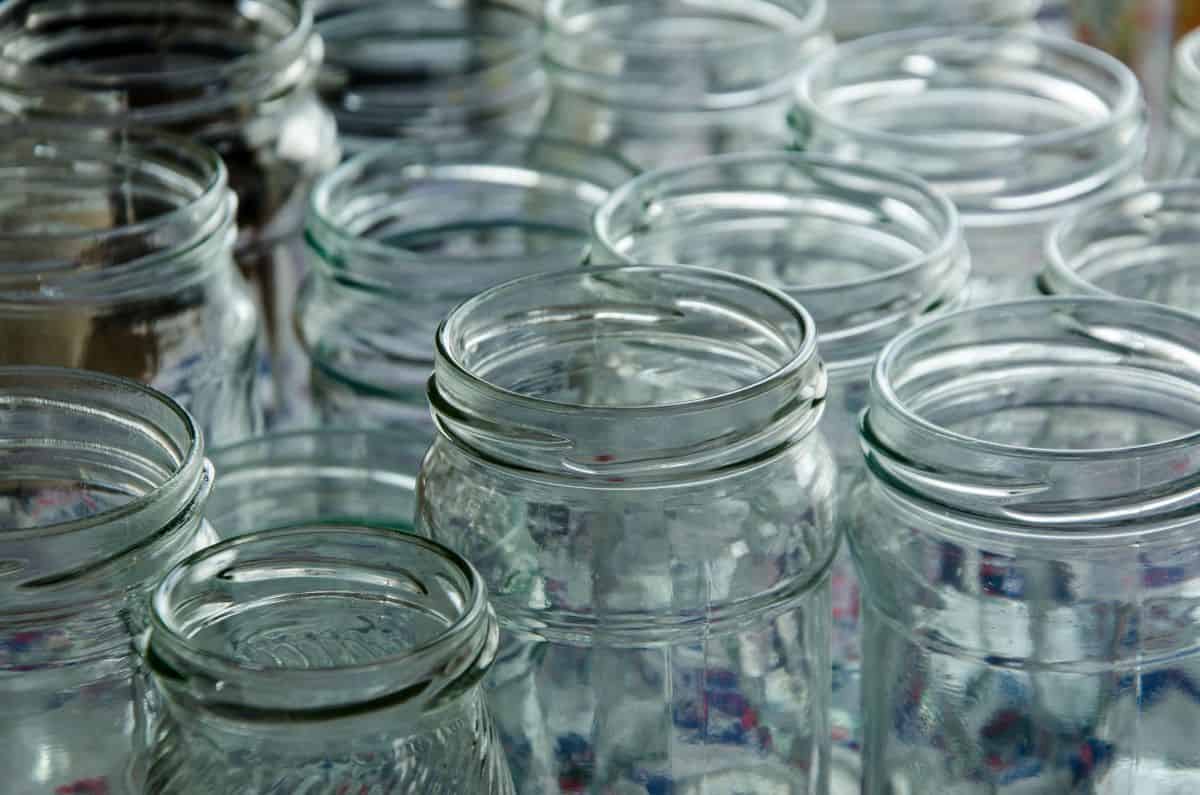
Why sterilize jars?
The sterilizing process is a very important part of preserving food like chutney or jam. It prevents harmful bacteria from getting into the food before you seal it.
If harmful bacteria does get inside, it could spoil your preserve and cause it to go off quicker than usual. Worse, it could make you ill when you eat it.
It’s not just jars that need sterilizing, but the lids too. Lids need to be removed and sterilized separately.
So, don’t skip the sterilization process! It’s a quick and easy way to ensure your preserves are safe to eat and last a long time.
How to sterilize jars: the 6 best methods
How to sterilize jars in the oven
The most common way to sterilize canning jars is the oven method. It takes a little longer than the other methods, but is very simple and 100% effective.
- If you have canning jars with rubber sealing rings around the lids, the seals will need to be sterilized separately. Remove them and place them in a pan of boiling water for 3 minutes.
- Wash your jars in hot soapy water, then rinse. It’s very important to have clean jars before you start the sterilizing process.
- Allow the glass jars to dry upside down on a clean roasting tray. They don’t need to dry completely – they’ll dry in the oven
- Preheat your oven to 320F/160ºC. Any lower and the glass jars might not be fully sterilized; any higher and you’ll risk breaking the canning jars.
- Sterilize the clean canning jars for 15 minutes, then remove the tray using oven gloves.
How to sterilize jars in the dishwasher
Another easy way to sterilize jars is to use a dishwasher. For full details, click here.
- Wash your empty jars with soap and hot water. Remove lids and rubber rings, both of which can also be sterilized separately in the dishwasher.
- Place your jars, lids and rubber rings in the dishwasher and start the dishwasher on its hottest cycle.
- Remove jars when the cycle comes to an end. Fill with your warm preservative.
Would you like to save this?
How to sterilize jars in an instant pot
For a detailed article on the topic, go here.
- Wash your empty jars with soap and hot water. Remove lids and rubber rings.
- Fill your instant pot with water. Insert a steam rack or basket to prevent the jars from touching the bottom and cracking.
- Place the rubber seals in a pan of boiling water for 3 minutes.
- Place your jars and lids upside down in the instant pot.
- Close the lid of the instant pot, making sure it is properly sealed.
- Select either ‘sterilize’, ‘steam’ or ‘pressure cook’, depending on your instant pot model.
- When the sterilization process is complete, release the pressure valve on your instant pot. Allow the instant pot to cool down and then remove the jars and lids using a jar lifter or tongs.
How to sterilize jars in a water bath canner
Sterilizing glass jars in a boiling water canner is another simple and effective method.
- Remove lids from your sterilizing jars or, if you have mason jars rubber sealing rings, remove the rings to be sterilized separately. Place the rubber rings in a saucepan of hot water and bring to the boil. Leave to sterilize for 3 minutes.
- Wash your jars in hot soapy water, then rinse. It’s very important to have clean jars before you start the sterilizing process.
- Place your cleaned jars the right way up in the water canner or large pot.
- Fill the water canner with hot water (not boiling water). You want to make sure your sterilizing glass jars are completely covered.
- Place the boiling water canner on a high heat and bring to the boil. Once you’ve reached a rolling boil, continue to sterilize the jars for 15 minutes.
- Turn off the heat. You can leave the hot jars or up to an hour until you’re ready to use them.
Note: You can also use a pressure canner, which doesn’t require you to sterilize the jars beforehand – you just fill cold jars with your chosen ingredient, then place in the pressure canner and follow the canning process instructions that come with your pressure canner.
How to sterilize jars in the microwave
If time is against you and you’re only looking to sterilize a few jars, you can also sterilize glass jars in the microwave.
- Prepare jars for sterilizing, as before – wash your mason jars in warm soapy water and rinse thoroughly.
- Remove any lids (especially metal lids!).
- Place the wet jars in the microwave and microwave on full power for 45 seconds.
- Remove the sterilizing jars from the microwave using your oven mitts.
How to sterilize jars with boiling water
Click here to learn more about the boiling method.
- Prepare the jars for sterilizing by washing them in warm soapy water, then rinse thoroughly.
- Remove lids from the jars
- Place jars in a large clean cooking pot.
- Cover with warm water
- Bring to the boil, cover and leave to boil for 15 minutes.
- Turn off the heat and let the jars sit in hot water for up to an hour.
- Remove the jars and lids using a jar lifter or tongs.
Top Tips
- Allow your sterilizing jars to cool a little bit, but not completely. You’ll want hot jars when you fill the jars with your chosen preservative.
- Filled jars should have a gap of about 2cm at the top.
- Don’t use jars that have a broken seal, as bacteria could get inside the jar.
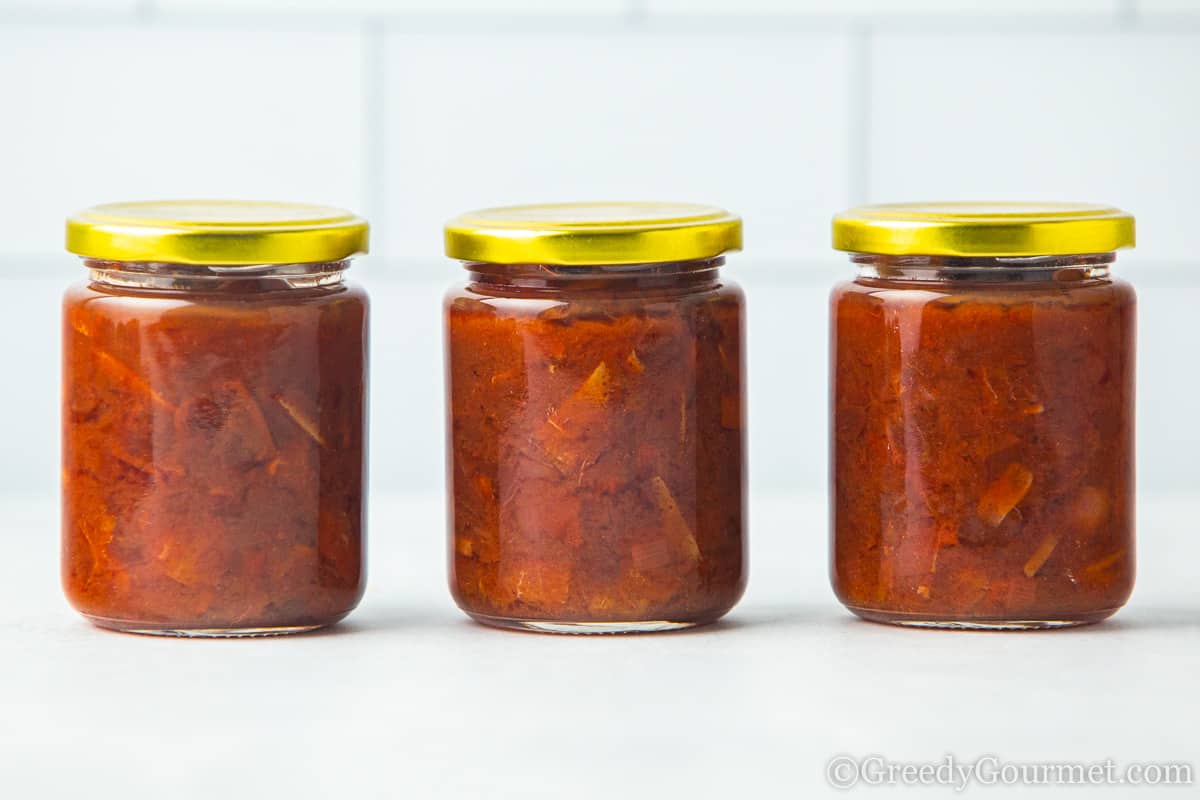
How to use sterilized jars
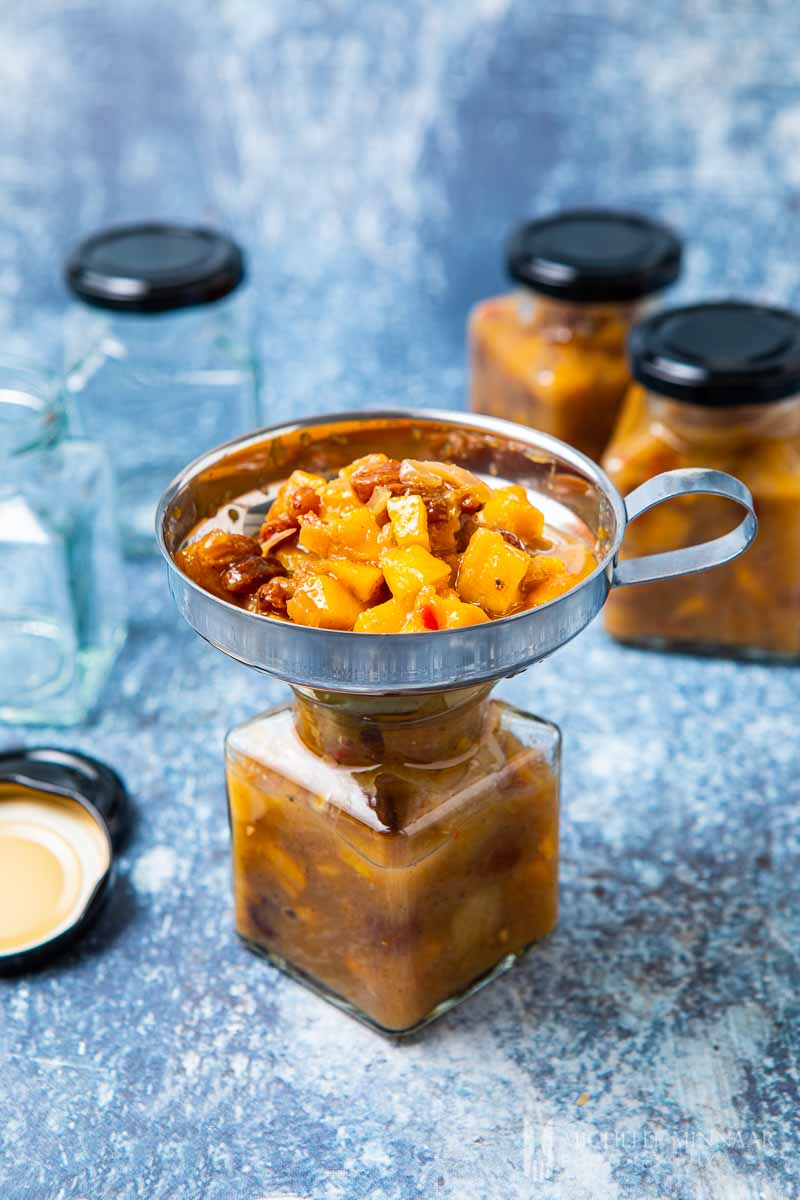
Once you've properly sterilized your glass jars, they’ll be ready to fill with your favorite preserves. If you get your timings right, the temperature of the glass jars will be about the same as the temperature of your preserve.
If you need some inspiration, try making one of the following delicious preserve recipes:
- Marrow chutney – a vibrant vegetable chutney that really tingles the taste buds, this is easy to make and so satisfying to eat!
- Papaya chutney – a fruity favorite, the subtle spices of this papaya chutney really work wonders with the exotic fruity undertones. Simply sensational
- Rhubarb chutney – A incredible winter chutney made with one of the most underrated vegetables, this is one recipe that you have to try
- Black grape chutney with rosemary – grape and rosemary go together fantastically well, as this recipe proves
- Mrs Ball’s chutney – practically a national treasure in South Africa, this tremendous plum chutney can be used to add flavor to everything from meat dishes to sandwiches and cheese boards
- Apricot chutney – another fantastic fruit chutney with plenty of character, plus it’s very easy to make


Make my day! - Share your thoughts...