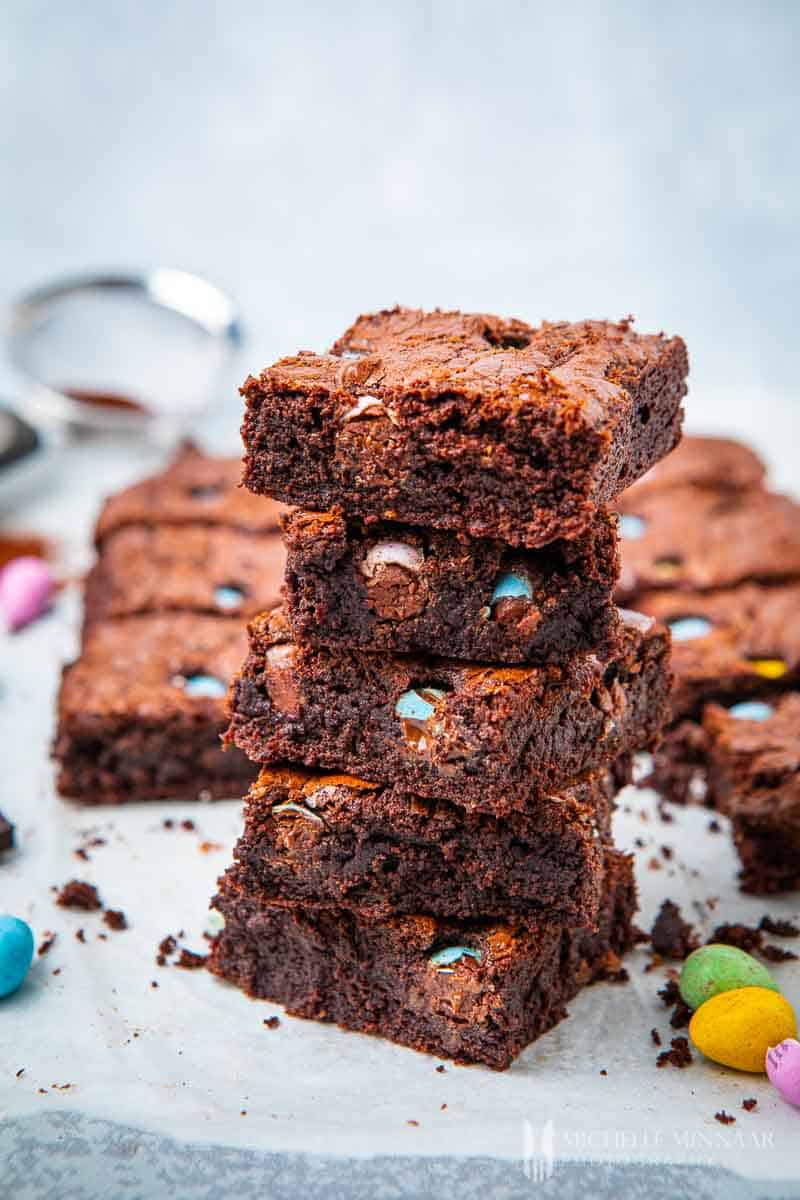
These soft and gooey, wonderfully chewy mochi brownies are pure heaven! You won't believe it, but there's not even a trace of gluten in them – that's right, they're gluten free-kin' delicious!
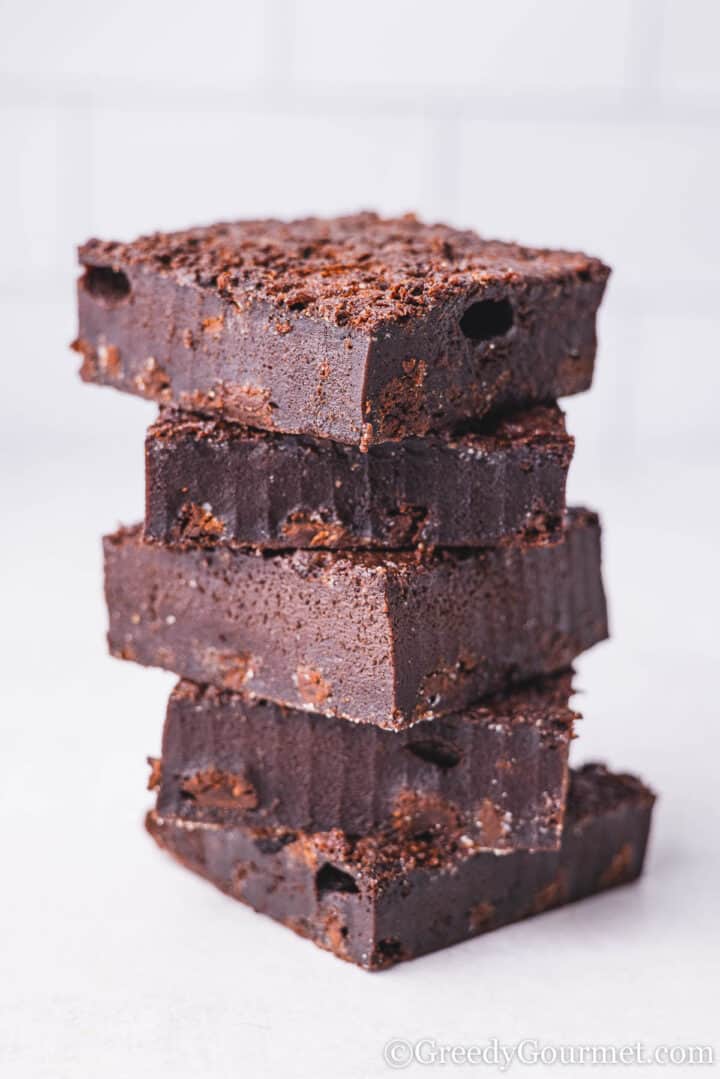
So, prepare yourself for your new favorite brownie.
Why you'll love these mochi brownies
- They taste decadent and delicious, with a melt in the mouth texture
- Mochi brings a fudgier texture than the standard brownie, perfect for those who want something a little different
- These babies are 100% gluten free
- Can be made ahead of time
- They are easy to store, and you can transport them to an event or party.
Special equipment needed
There are a few key kitchen items you'll need to make this mochi brownies recipe:
- Stand Mixer - a stand mixer with a mixing bowl is the best tool to use to mix your eggs and sugar together. If you don't have a stand mixer, you can also use a handheld electric mixer or electric whisk. I don't recommend using a hand whisk as it will take much longer and won't do as good of a job.
- Spatula - use a rubber spatula to gently fold the melted butter and chocolate mixture into the egg mixture. Make sure not to overmix!
- Parchment Paper - line the baking tin with parchment baking paper in order to prevent the brownies from sticking, making them easy to remove.
- Baking Tin - for this recipe, use a 30x20cm (12x8in) square tin. It is important to use the correct size square tin to get the right thickness for your brownies.
- Offset Spatula - before baking your brownies, use an offset spatula to smooth the brownie batter. This step isn't absolutely necessary but will give you a nice even brownie.
How to make mochi brownies
Place the flour, cocoa, sugar, and baking powder in a bowl.
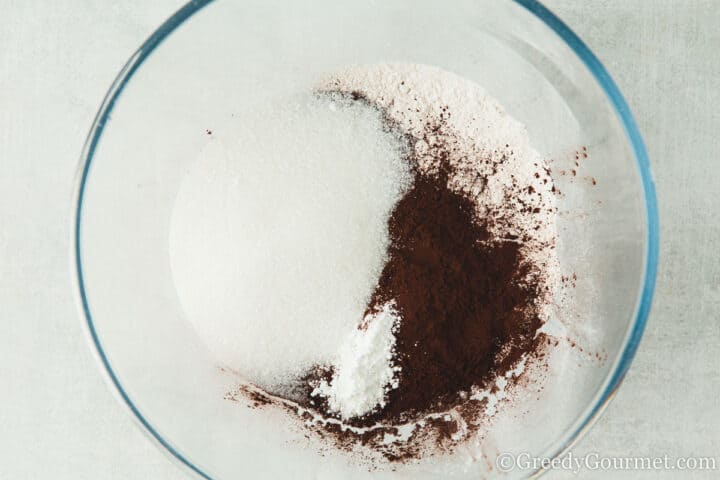
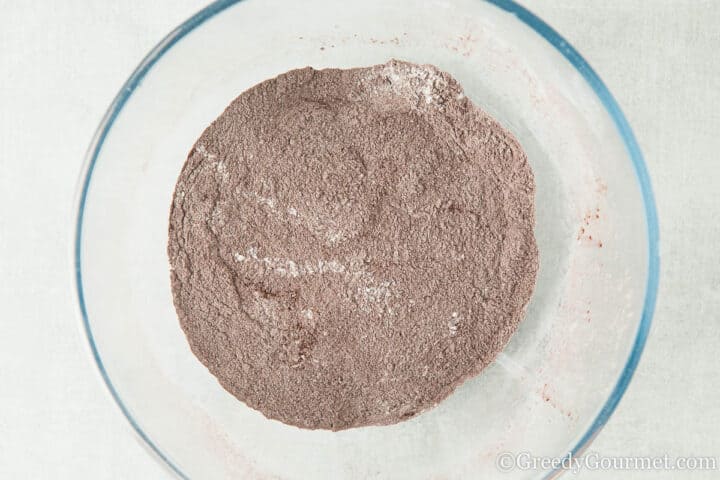
Stir until everything is well incorporated.
Chop the chocolate into chunks.
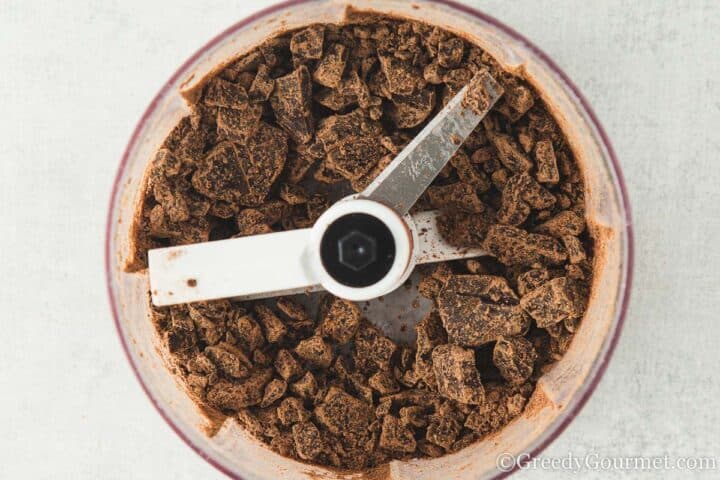
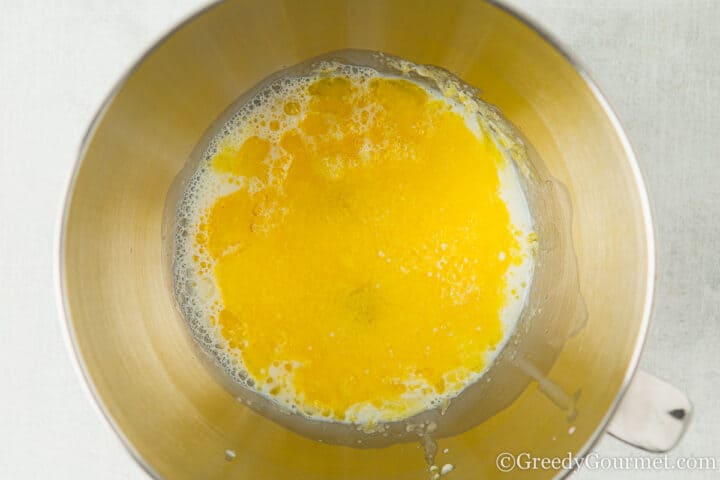
Place the butter, eggs, milk and vanilla in a bowl.
Whisk until smooth.
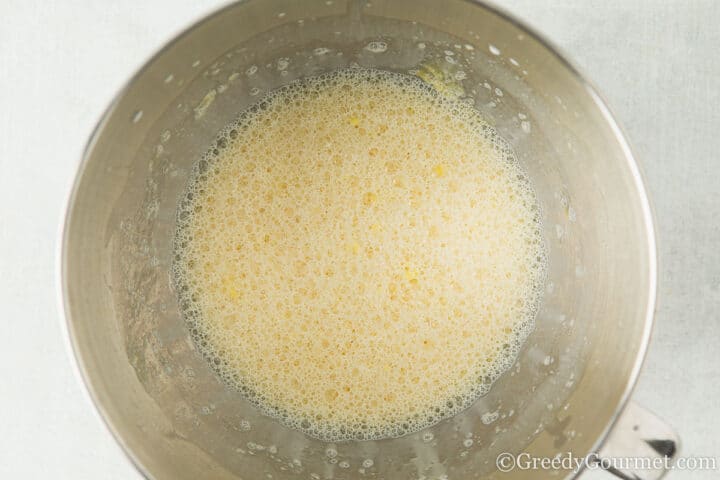
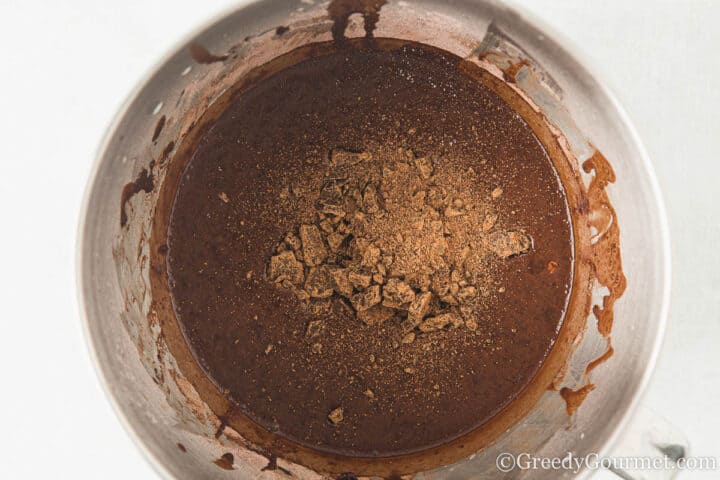
Keep the stand mixer running at a slow speed. Add the flour mixture one tablespoon at a time until everything is incorporated. Add the chocolate pieces and stir.
Pour the contents into a lined baking tin.
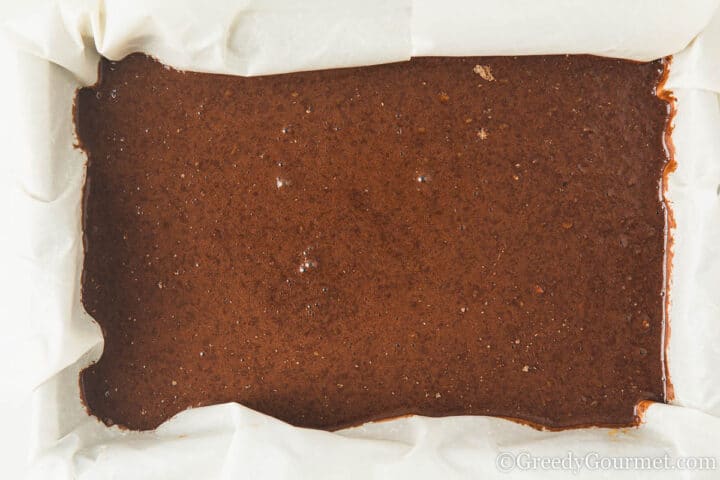
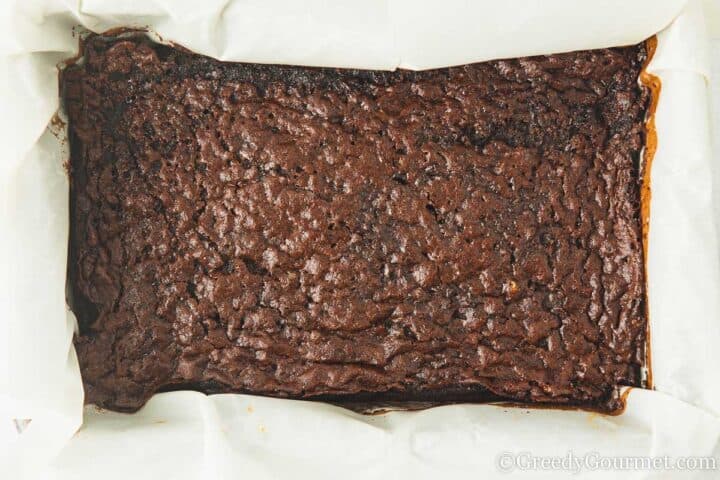
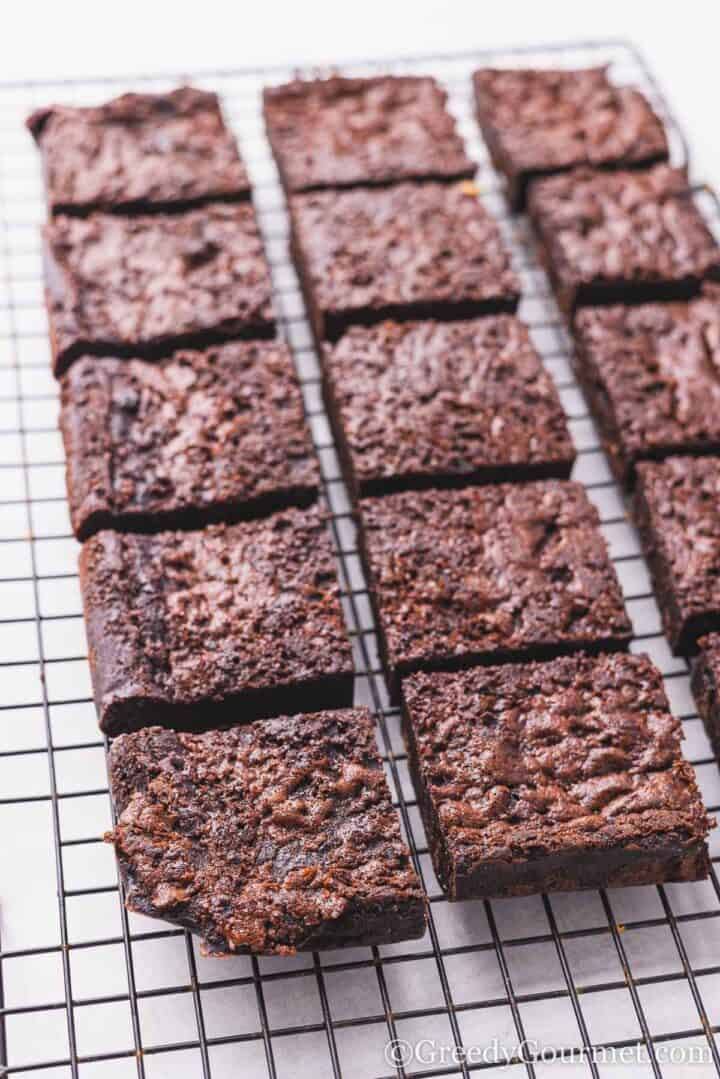
Bake until the brownies are cooked but still squidgy. Let it cool, then cut up into portions. Enjoy!
Top Tips
Don't over-mix your brownie batter; it will produce too much air. Be gentle, especially when adding the flour, and you'll end up with silky smooth brownies.
What to serve with mochi brownies
This homemade brownie recipe stands alone as a decadent dessert that will cure any sweet tooth. If you want to accompany it with a beverage or even more delicious sweets, here are a few suggestions to pair with it.
Drinks
- Rooibos – a lovely fruity blend. Make it an iced rooibos for an extra refreshing side.
- Regular tea or coffee – for me, a nice warm cup of tea or coffee is the perfect pairing with a delicious chocolate brownie!
- Toblerone cocktail - the perfect cocktail to complement these brownies.
Would you like to save this?
Sides
For a decadent side, try a scoop of your favorite ice cream. Or keep it simple with fresh fruit – strawberries, blueberries, raspberries, etc.
Substitutions for this recipe
- For the best results, dark chocolate is the way to go. You can, however, use milk chocolate when making these brownies.
- Turn these mochi brownies into mochi blondies using white chocolate instead of dark chocolate.
Variations to this recipe
- You can use chocolate chips instead of chunks of chocolate. Melt the butter and chocolate chips at the same time, mixing with the sugar and other ingredients.
- Add a dash of vanilla extract for an extra vanilla flavor.
- You can use light granulated or dark brown sugar when making these brownies.
- Make this recipe vegan friendly by replacing the milk with coconut milk or almond milk, and the butter with a suitable nut butter. See my cherry brownies recipe for how to make a vegan brownie work.
- You can add chopped nuts, such as walnuts or pistachios, into the mix.
- Ever thought about adding booze to your brownies? Have a look at these Baileys Irish Cream Brownies.
Top Tips
- Use dark chocolate that is 70% cocoa or higher.
- Line the pan with parchment paper or baking foil. This way, you can lift the brownie block straight out of the pan when it's ready, and bits of brownie won’t get stuck to the bottom of the pan.
- Remember... room temperature eggs are your best bet for getting a smooth brownie consistency. Take your eggs out of the fridge 30 minutes or an hour before you start making this recipe.
- Add the dry ingredients to the wet one bit at a time. It will mix in better, and you’ll reduce the risk of having a lumpy brownie batter.
What is mochi?
A traditional Japanese confection, mochi is a cute, round, bun-shaped rice cake that's soft, chewy, and delectable. They are usually sweetened, sometimes filled with red bean paste or ice cream, and are very popular in Japan and Asia.
Mochi brownies are essentially brownies made using mochiko – the sweet glutinous rice flour used to make mochi.
What is glutinous sweet rice flour?
Otherwise known as mochiko flour or sweet rice flour, this type of flour is ground from short-grain glutinous rice or sticky rice.
Sounds like it contains gluten, right? Actually, despite its name, glutinous rice is entirely free from gluten.
Where can I get sweet rice flour?
You'll find it in most supermarkets in the US and the UK. You'll also find it in Asian food stores. If you need that, you can buy mochiko here.
Can I use regular rice flour for this recipe?
No, regular rice flour won't do. You won't get that glorious springy texture.
Where do mochi brownies come from?
You might think they originated in Japan. The idea of mixing mochi with brownies came from Hawaii. A great example of cuisines taking inspiration from other cuisines to create something utterly marvelous!
What type of chocolate is best for making brownies?
Go for dark. This recipe gets the balance between milk chocolate orange and dark, so don’t be tempted to replace the dark with milk chocolate; otherwise, the consistency won’t be right.
You can buy delicious dark chocolate chips tailor-made for baking to bring that wonderful chocolate flavor. Alternatively, you can use chopped chocolate.
What kind of cocoa powder is best for brownies?
Any kind will do, but if you can get Dutch-processed cocoa powder, these brownies will be even better! You'll find it online here.
How do you make a mochi brownie soft and gooey?
The key is timing. Once the brownie batter has shrunk in the four corners and the middle is still slightly runny, it's time to take the pan out of the oven.
How do you know when brownies are done?
Ever-so-slightly under-baking, the brownie will get the perfect texture. If it comes out mostly clean, you're good to go.
How long does it take brownies to set properly?
Around 30 minutes to an hour.
Are mochi brownies suitable for vegans?
No. This mochi brownie recipe contains dairy products such as milk and butter.
If you're looking for a delicious vegan brownie recipe, look no further than my cherry brownies!
Are mochi brownies gluten free?
Yes! These brownies are 100% gluten-free.
How do you store mochi brownies?
In an airtight container lined with parchment paper. Want to know a little trick? Place a slice of bread in the container. It will add moisture that will keep the brownies fresh for longer.
How long do mochi brownies last?
If stored correctly in an airtight container, these chewy mochi brownies will stay fresh for 3-5 days.
Can you freeze mochi brownies?
Yes! Freezing brownies is pretty simple, and they don't lose their flavor. You can even eat frozen brownies!
Check out my 'Can you freeze brownies?' guide for a complete step-by-step guide on freeze brownies.
More brownie recipes
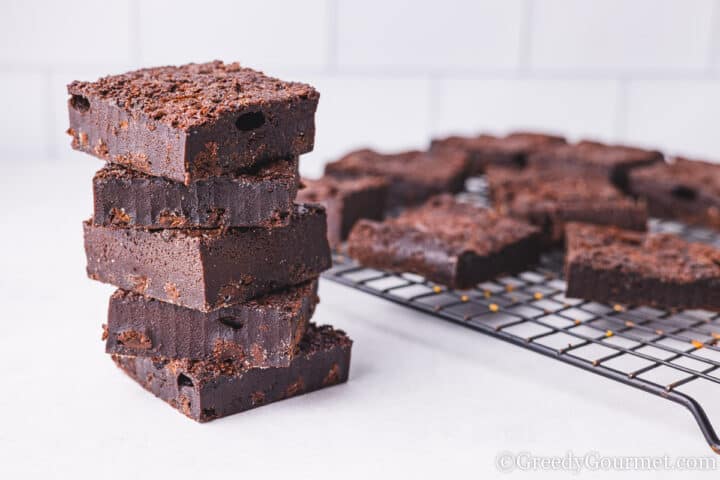
Brownies are like a gift from the culinary gods and utterly perfect for chocolate lovers. Experiment with different flavors once you've got this brownie recipe to a tee! Here are a few more of my favorite brownie recipes for you to try:
Print📖 Recipe
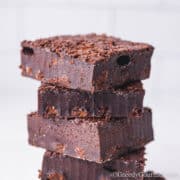
Mochi Brownies
- Total Time: 55 minutes
- Yield: 15 portions 1x
- Diet: Vegetarian
Description
Experience a delightful fusion of chewy and fudgy in our Mochi Brownies recipe. A unique and irresistible twist on a classic treat!
Ingredients
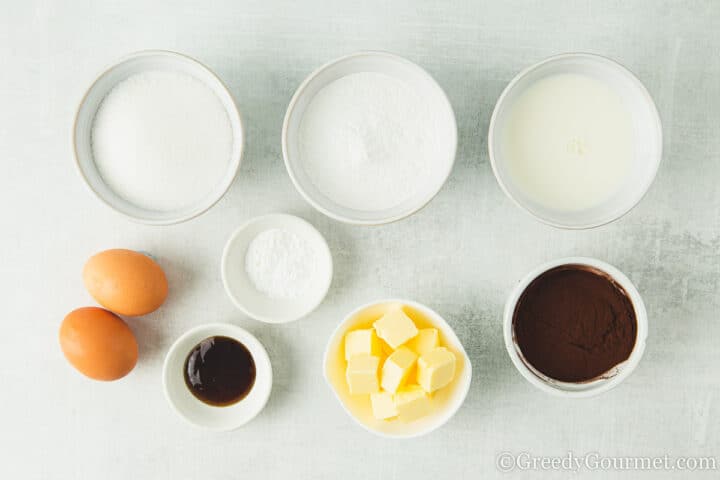
- 150g (1 cup) glutinous rice flour
- 50g (½ cup) cocoa powder
- 200g (1 cup) sugar
- 6g (1 ½ tsp) baking powder
- 36g (3 tbsp) butter, melted
- 2 large eggs
- 300ml (1 ¼ cup) milk
- 5ml (1 tsp) vanilla bean paste
- 100g (3 ½ oz) dark chocolate, chopped
Instructions
- Preheat the oven to 180°C / 160°C / 350°F / gas mark 4.
- Line a 30x20cm (12x8in) baking tin with non-stick parchment paper.
- Place the flour, cocoa, sugar, and baking powder in a bowl and stir until everything is well incorporated.
- Whisk the butter, eggs, milk, and vanilla in a stand mixer until a smooth mixture forms.
- Keep the mixer running slowly and add the flour mixture one tablespoon at a time until everything is incorporated. Don’t forget to scrape the sides of the bowl to ensure everything is evenly distributed.
- Stir in the chocolate pieces.
- Tip the contents into the lined baking tin and ensure it’s spread out in an even layer.
- Bake in the oven for 40 minutes or until set. You can use the wooden skewer method to check if it’s cooked. I.e., The skewer should come out mostly clean with no wet residue.
- Patiently wait for the brownies to cool down before slicing the slab into portions. Enjoy!
Notes
- You can use any milk in this recipe.
- Store in an airtight container for up to 3 days.
- Prep Time: 15 minutes
- Cook Time: 40 minutes
- Category: Dessert
- Method: Bake
- Cuisine: Japanese
Nutrition
- Serving Size:
- Calories: 169
- Sugar: 17.1 g
- Sodium: 20.1 mg
- Fat: 5.7 g
- Saturated Fat: 3.2 g
- Trans Fat: 0 g
- Carbohydrates: 28.2 g
- Fiber: 1.8 g
- Protein: 3.2 g
- Cholesterol: 30.8 mg

Make my day! - Share your thoughts...